MUNG BEAN GERMINATION PROCESS
January 19th, 2022
The mung bean, also known as moong, is one of the most beneficial legumes. It has vitamins C, K and B, which help prevent cardiovascular diseases. Also, this bean is a great antioxidant that strengthens the organs, skin and cartilage.
For these reasons, it is one of the favorite ingredients in Chinese cuisine and is also widely used in the cuisine of other Asian countries such as Japan, Taiwan, Korea, India, Pakistan and Vietnam.
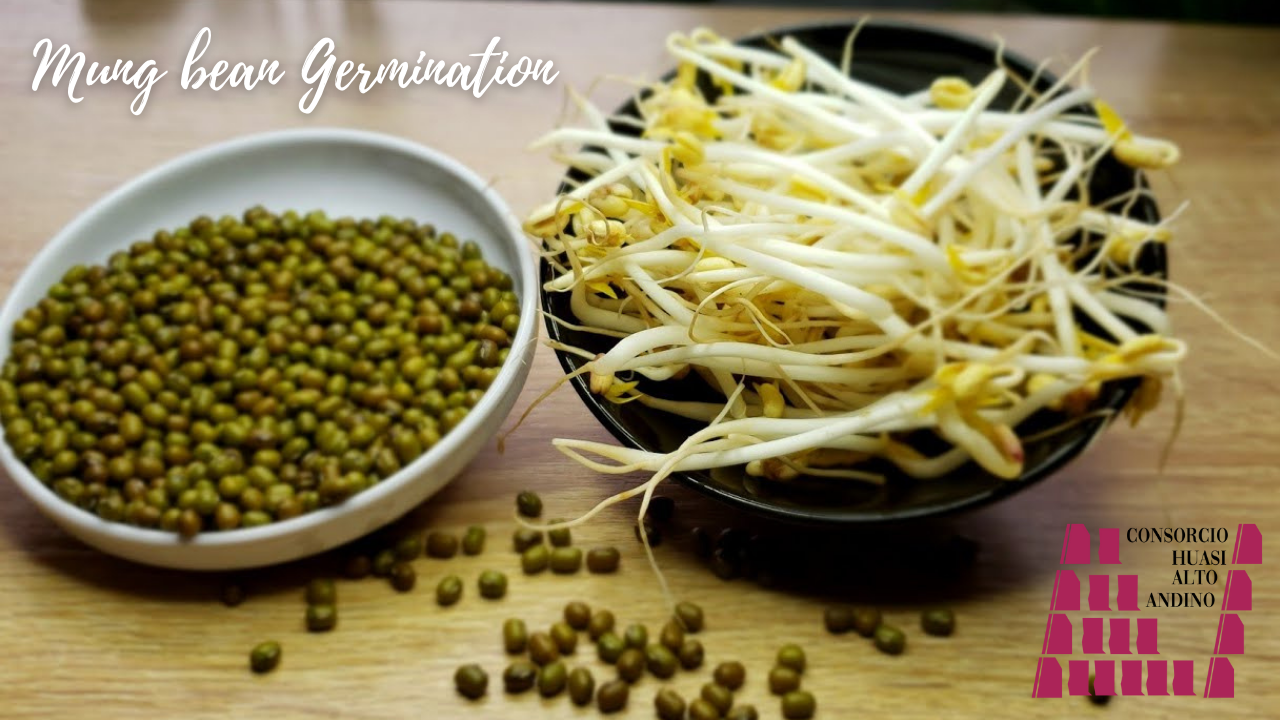
One of the most nutritious alternatives to maximize the qualities mentioned are mung bean sprouts, also known for their delicious flavor and crunchy texture.
This sprout can be steamed, in soups, and in more popular recipes like chop suey and pho soup. Homemade moong sprouts are very easy to make and of course they are hygienic and fresh compared to store bought ones. For this reason, at Consorcio Huasi Alto Andino we tell you how to germinate mung beans.
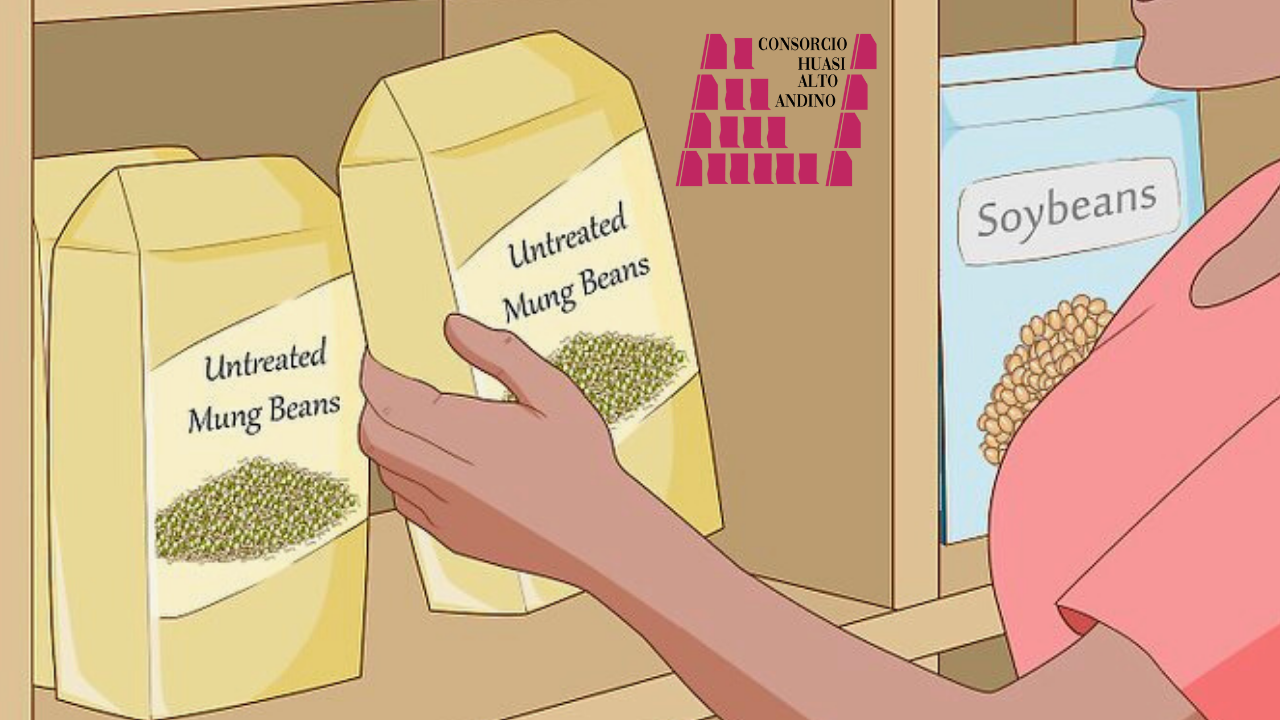
Step 1 – Buy untreated whole mung beans.
This is very important to ensure that the beans have not been treated with chemicals and are intended to be sprouted and eaten.
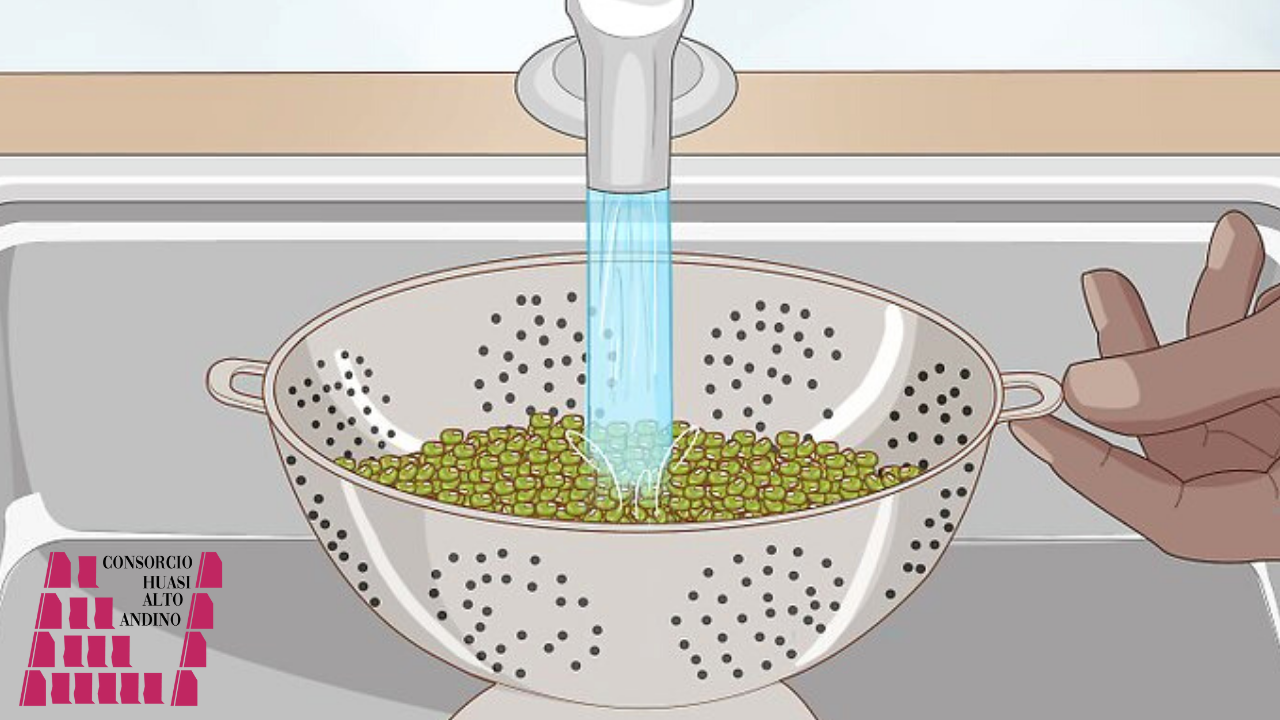
Step 2 – Rinse the beans using a colander or strainer.
Start by rinsing 1-2 cups of mung beans. This will serve to remove any dirt, metals, or toxins. The beans should be rinsed until the water runs clear. Start with 1-2 cups of mung beans because they tend to grow a lot bigger once they sprout!
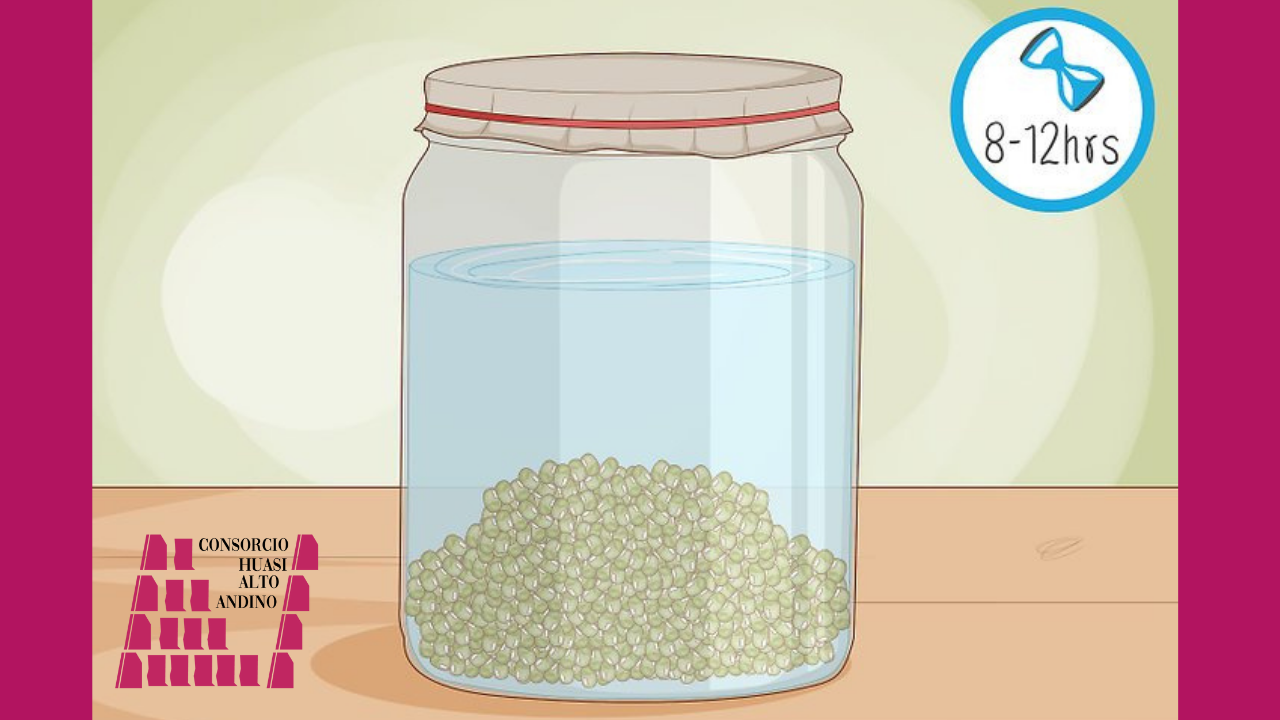
Step 3 – Soak.
Put the cleaned beans in a large transparent container with a wide mouth. Pour in enough cold water to completely cover the mung beans. Usually it will be 2-3 times the volume of the beans. Soak for 6 to 12 hours or until the beans begin to swell, usually about 8 hours.
Step 4 – Rinse again.
Drain off excess water and rinse mung beans again. Repeat twice to make sure the beans are completely clean.
Step 5 – Pack them.
Put the puffed beans in a jar and cover it with a piece of cheesecloth. Tie a rubber band or a piece of it twice around the mouth of the jar.
Step 6 – Put it in a cool dark place.
Find a place that gets little to no sunlight, like a closet or pantry, and place the bean jar there.
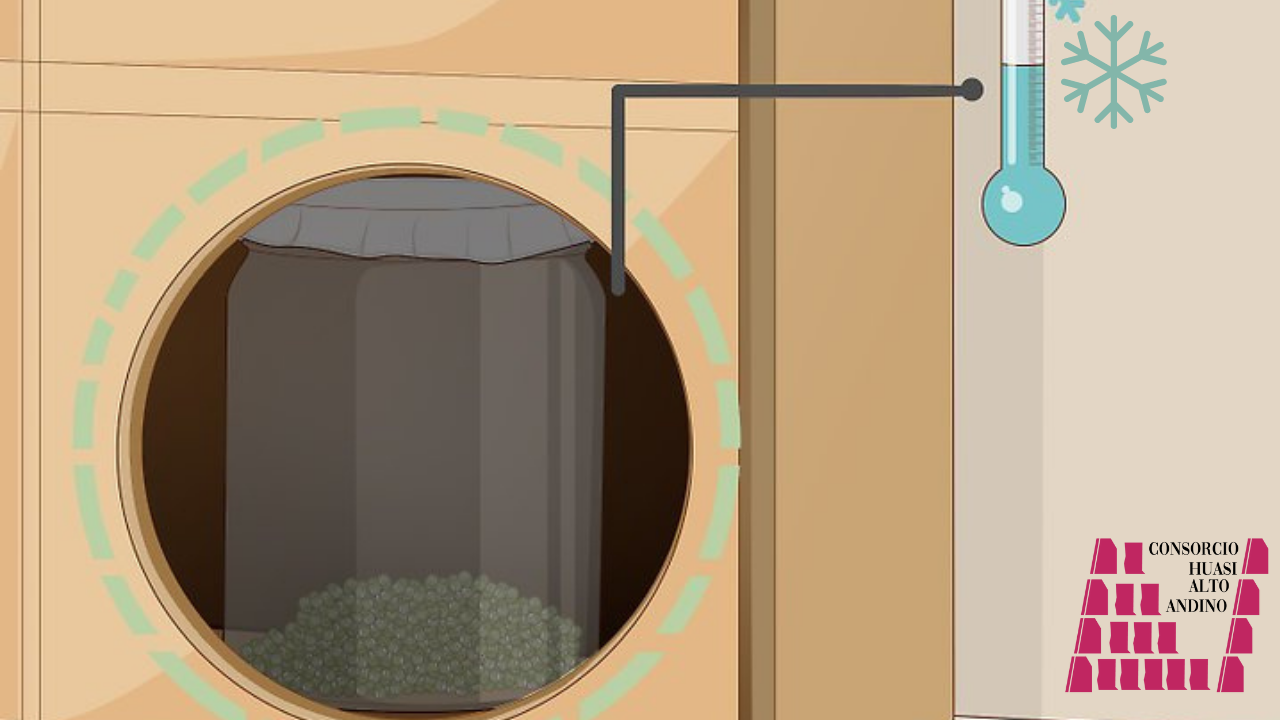
Step 7: Rinse and Drain.
For the next 2 to 5 days, drain and rinse the mung beans twice a day, that is, every 12 hours. Do this by filling the jar with water and draining it through the cheesecloth. After draining and rinsing, return the jar to its original dark place. How long you do this will depend on how sprouted you want your beans to be. Once the beans have sprouted to the desired length, you can go ahead and add them to salads, sandwiches, stir-fries, or just eat them on their own.
Mung beans usually taste good when they are 1/2 inch long, but this is mostly a personal thing.
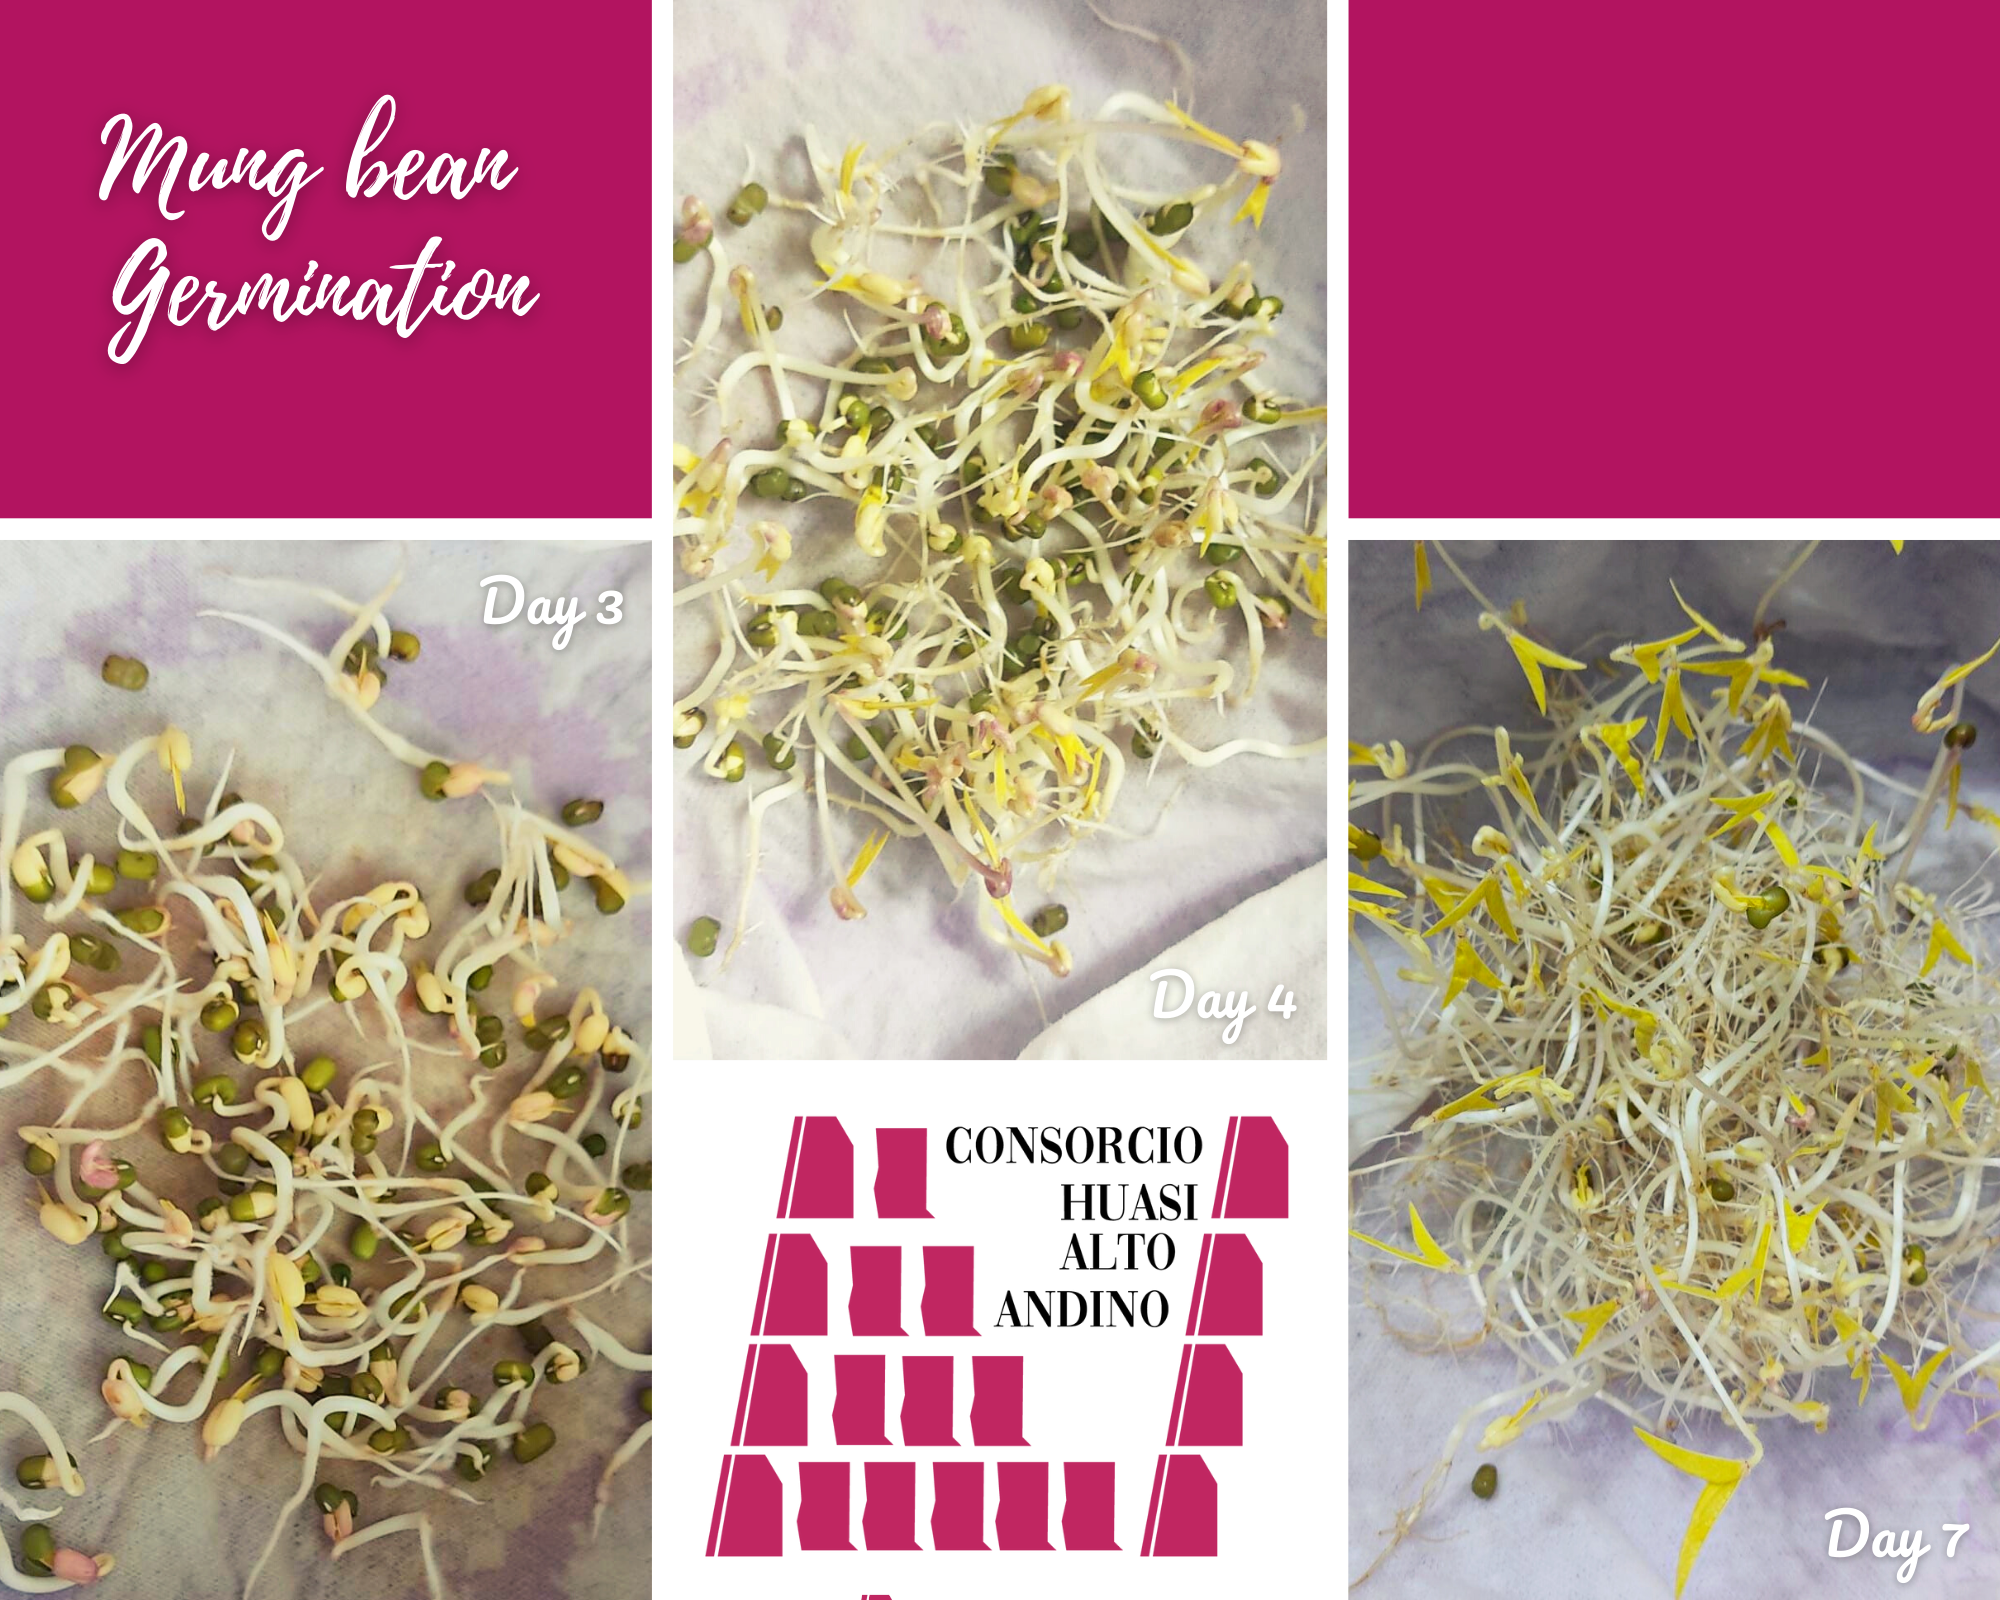
Here we show you our mung bean germination process!
Note:
You could ask for more information or quotation by sending an e-mail to info@consorciohuasipe.com
Source: Cereal Bowl - Healthy Food and Nutrition (2015-2021)
How to Germinate Mung Beans - Gardening tips (2019)
What is bean sprouts and its benefits? The universal (2021)